A hidden bridge can be both a cool part of your home and a defense against your enemies in PvP! The design is simple, you can use it to create lava traps, and it ensures that no redstone is left exposed.
How to Create a Hidden Bridge in Minecraft
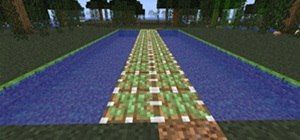
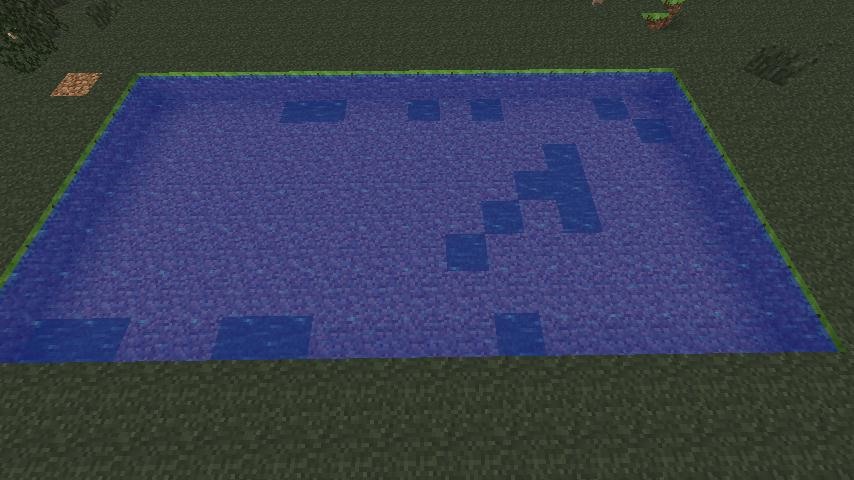
Step 1 Decide Where Your Bridge Will Go and What it Will Cross
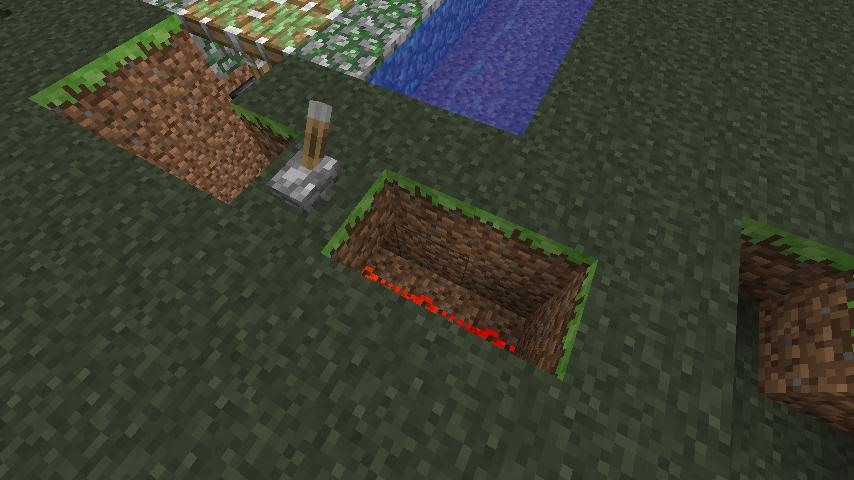
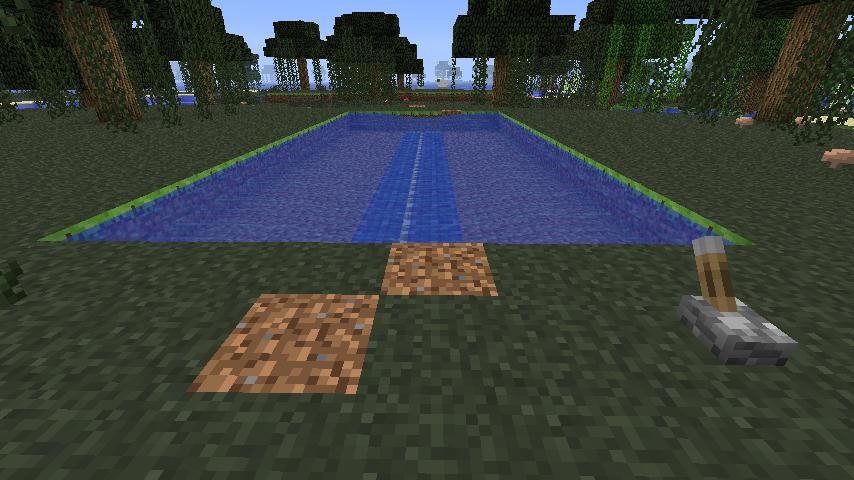
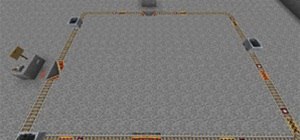
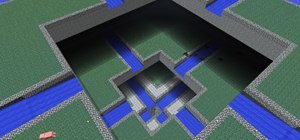
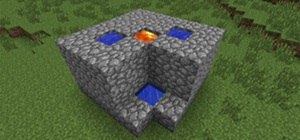
(1) I'm going to make my hidden bridge cross water for the sake of demonstration, but you can easily use lava or just leave the surrounding area as is. (2) If you are using a fluid block (water or lava), create a pocket of air by placing down two parallel rows of solid blocks the length of your bridge. Separate them by a two block wide gap.
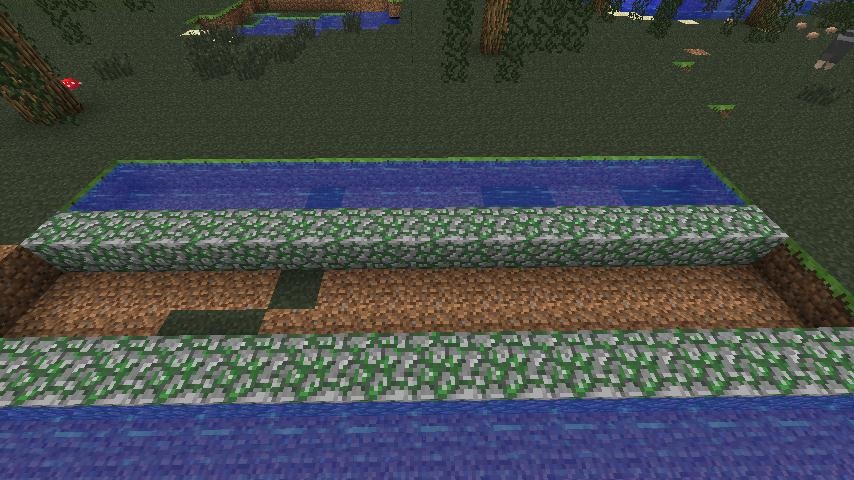
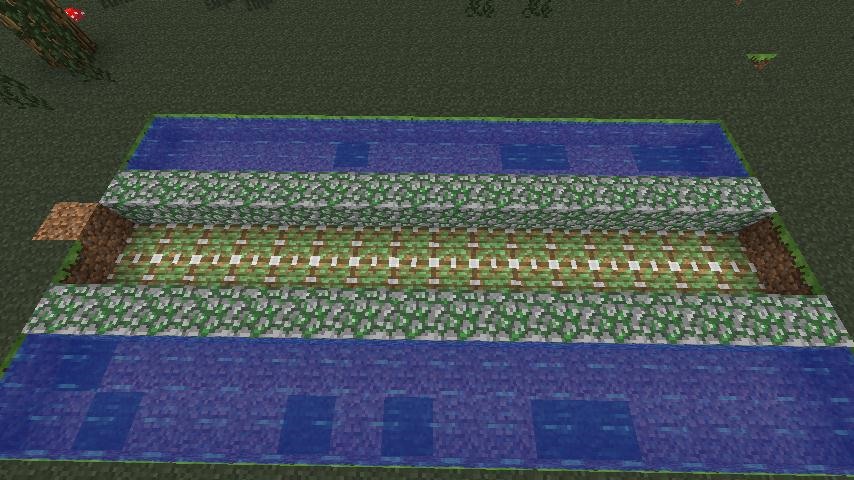
Step 2 Place Pistons
For the actual bridge, we're going to use pistons. Place a two block wide row of pistons the length of your bridge one block deep as seen above. Note: If you are interested in a bridge that is not made of pistons, place sticky pistons TWO blocks deep and put your chosen block type on top of them.
Step 3 Wire Up Your Bridge with Redstone
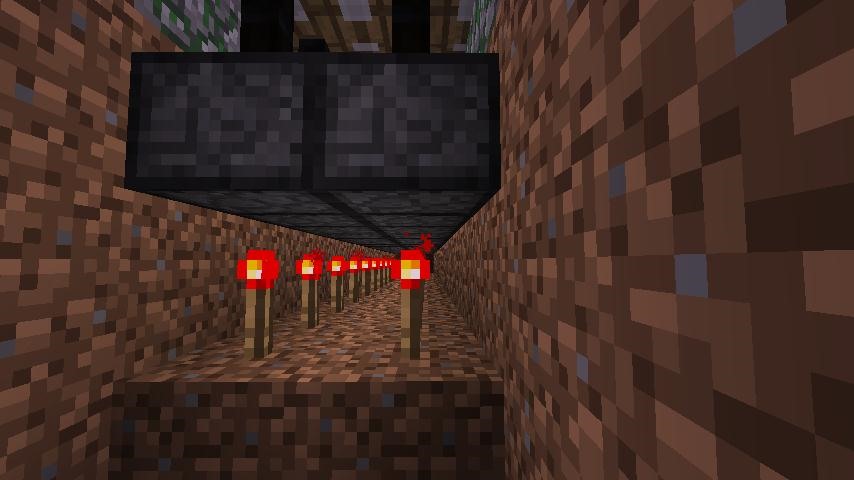
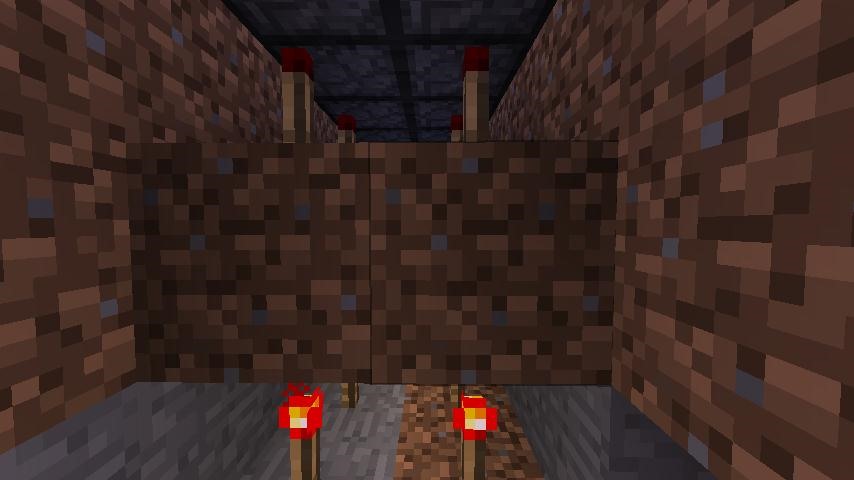
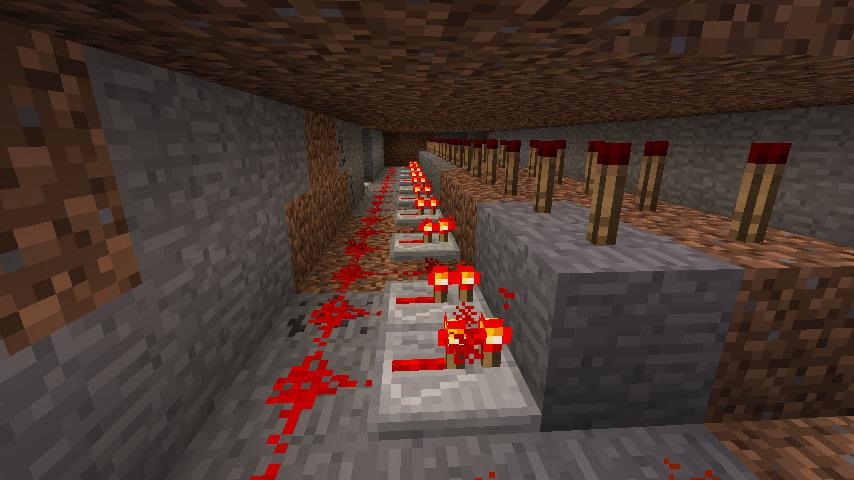
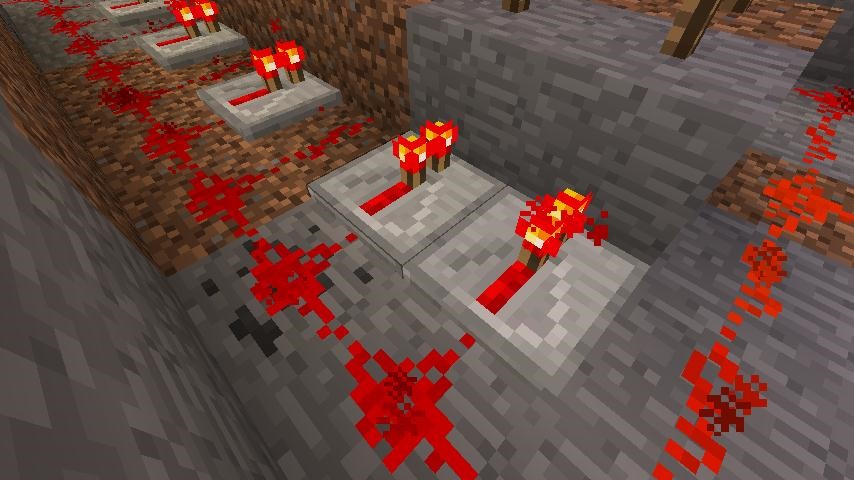
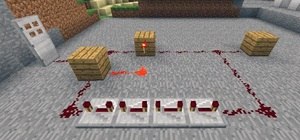
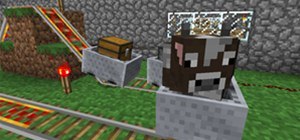
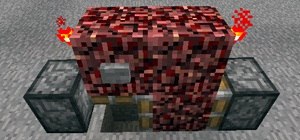
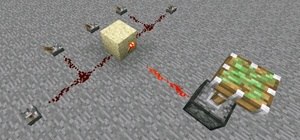
(1) Remove one block from underneath your pistons the full length of the bridge. Place redstone torches on top of them. This will momentarily activate the pistons. , (2) Now do the same thing you just did by removing one block from underneath the redstone torches you just placed, and place a second double line of redstone torches beneath these. This will deactivate the top redstone torches, thus deactivating your bridge. , (3) Dig around the second (lower) level of redstone torches until you have a two block wide space on either side. Wire up the torches together using redsone. To do so, alternate redstone repeaters with redstone wire so that it runs into the torches as seen above. Be sure to run connecting wire behind the repeaters so that a current will travel through the whole system. (4) On each end of the redstone torches, DO NOT alternate redstone wire and redstone repeaters. Instead, double up on repeaters as seen above.
Step 4 Wire Up Your Bridge to a Lever or Other Redstone Activator
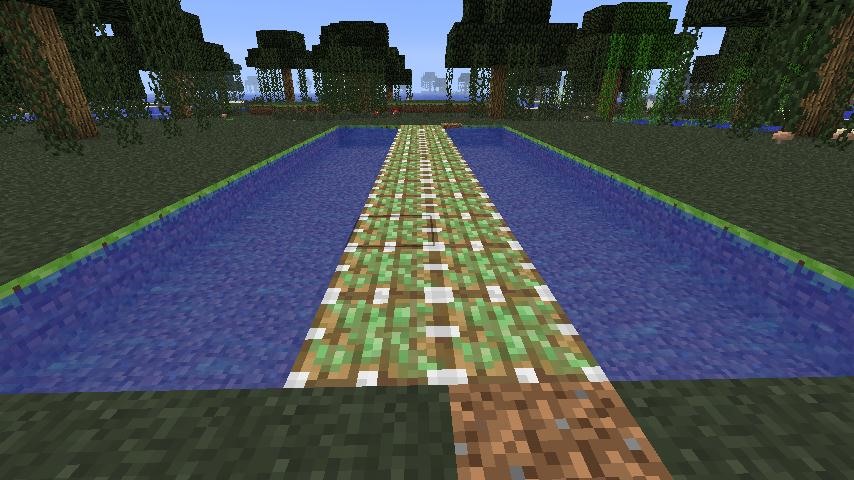
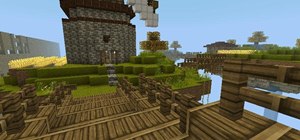
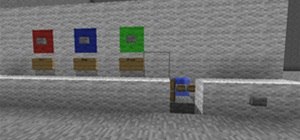
(1) Here I have wired up my torches to a redstone lever. You can do so without worrying about redstone being visible by running the redstone wire that is connected to your torches up and underneath the block that is your lever, or that the other redstone activator is on. (2) Now, when I press the lever one way, the bridge disappears, keeping unwanted elements at bay. , (3) With a flick of the lever, my bridge appears just when I need it, no exposed redstone, or troublesome wiring to boot!


6 Comments
Why alternating repeaters?
I got the same question as reddevved. As they say in french, "Pourquoi Pas?"
shouldn't the pistons be one layer lower? that way you can blend it in with the enviornment?
this sucks u didnt even explain which is the top or bottom. allso need better view of the pic.
This isn't helpful at all because it is not very specific
if you move everything down one block you can place dirt so then your bridge is less obvious.
Share Your Thoughts