Builds in Minecraft aren't usually for your own personal enjoyment; most people want to show them off to others. So to some extent, builds need to be user-friendly. That is, they should automatically guide people to areas of interest or importance.
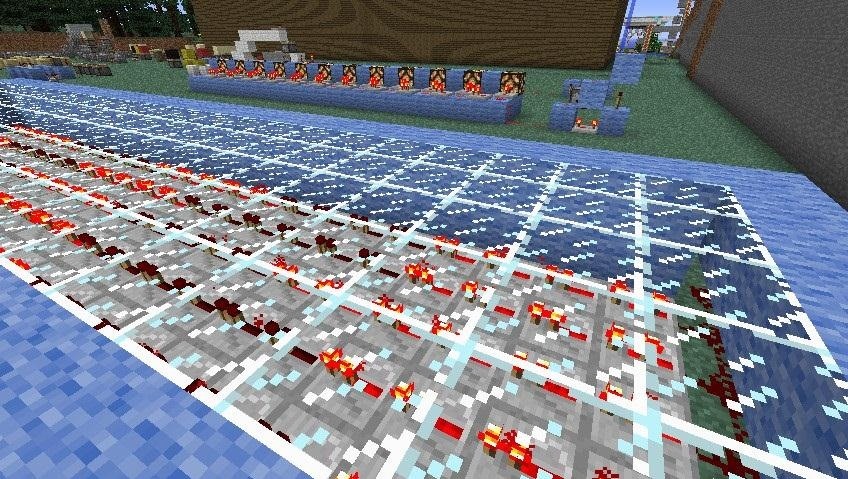
One particularly stylish way to do that is by using guide lights. I have two different designs included here, which you can either use or adapt to your own purposes.
Considering how many resources they require, these aren't really meant for Survival mode, but are a cool way to add some character to your Creative builds.
So, first we'll start with my favorite—the floor-based repeater lights.
Repeater Guide Lights
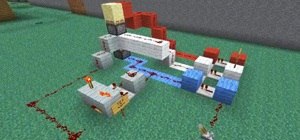
These lights consist entirely of the redstone light that's emitted from repeaters themselves. So basically, this build is just a redstone clock and a bunch of repeaters.
First, here's your clock. I used this design because I like it, but you can use any type of clock design. You do specifically want a clock that can be stopped and started, though, unless you want your guide lights on all the time.

Then you connect your clock to long rows of repeaters. You can make it as long or as short as you'd like, and you can use as many rows as you want. Personally, I think it's best to go with one, three, five, or seven rows. That way you can get a symmetrical effect when you use it. Note that all of the repeaters are set to no extra delay...

...except the first row. The first row will set the design that your guide lights display. By adjusting the delay settings, you can create a variety of arrow shapes. In this case, I've made it so that the arrow is in the middle, which you can see in the video I've included at the bottom.

While you can just leave them exposed, I prefer to put a layer of glass on top of them so that no one accidentally clicks some repeaters and messes up the design.

And that's all there is to it. Incorporated into a floor, it can be really striking, and while it looks good from ground level, it really shines from the air.
Redstone Light Guide Lights
These are more versatile than the repeaters, but they aren't quite as responsive and fun to look at.
Again, you start out with a redstone clock, but make sure you pick a design that can be turned on and off.

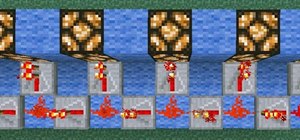
After you have your clock, lay out your redstone lights in a row (or even around a corner), spacing them one block apart.

Then it's a simple matter of adding a bunch of repeaters in order to make 'moving' lights. You basically want two rows, one pointing away from your clock, and one pointing toward your lights. Note how none are set to have any extra delay.


And that's it! Check out this video of the two of them in action:
If you have a better way to make or use guide lights, make your own tutorial and show us your great builds!
Just updated your iPhone? You'll find new emoji, enhanced security, podcast transcripts, Apple Cash virtual numbers, and other useful features. There are even new additions hidden within Safari. Find out what's new and changed on your iPhone with the iOS 17.4 update.










Be the First to Comment
Share Your Thoughts