
There are a number of different techniques for building underwater in Minecraft. The easiest is to fill a room with wood or leaves, then set them on fire. It'll burn down, leaving a pocket of air for you.
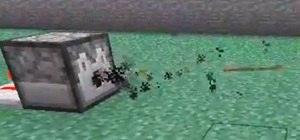
However, if you're on a server like ours, mc.wonderhowto.com, fire doesn't spread or consume fuel. So what's the best way to build underwater? Allow me to introduce you to Glowstone Scaffolding. Say hello, Glowstone Scaffolding. Too shy? No matter.
It gets dark underwater really fast, and the full brightness of glowstone blocks only travels 3 or 4 blocks. This means that you'll need a lot of glowstone in order to make a big area easily-visible.
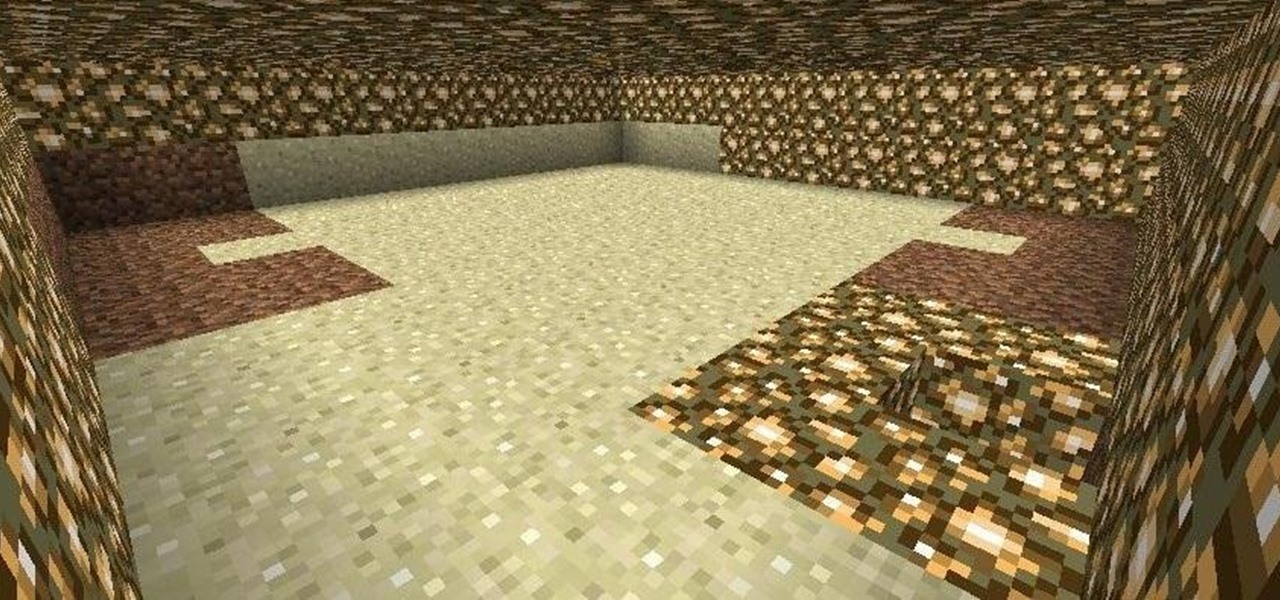
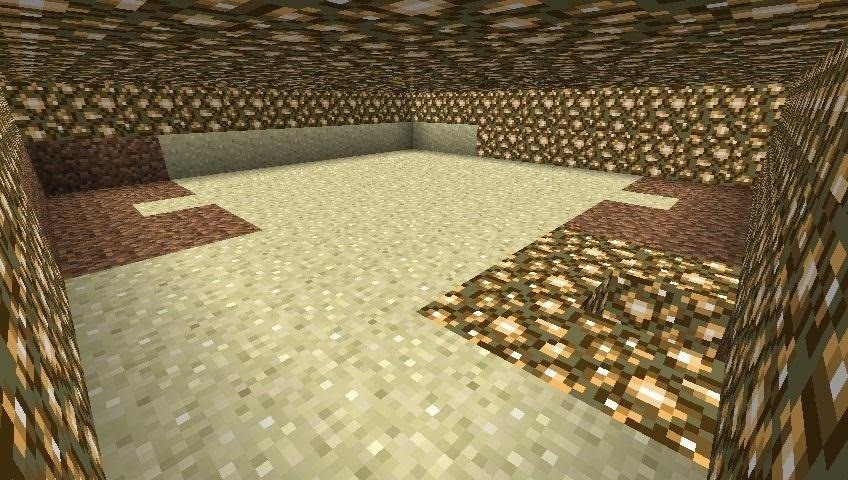
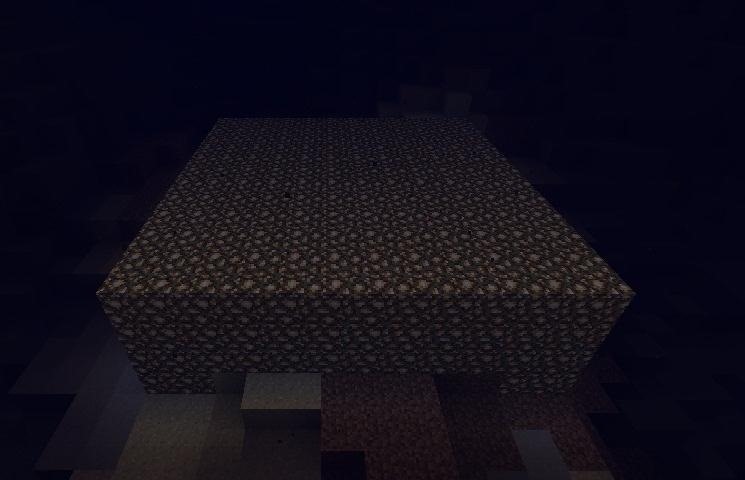
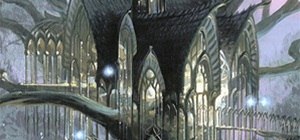
Let's say that you start out with an underwater area like this:

I know, it's dark and difficult to see, isn't it?
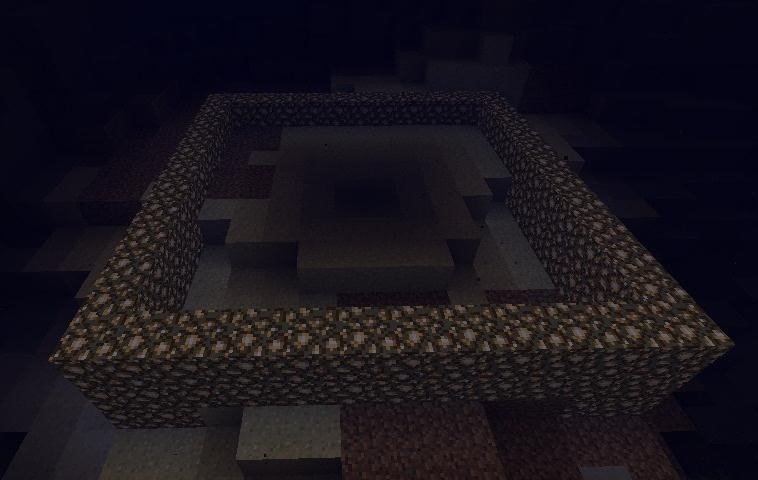
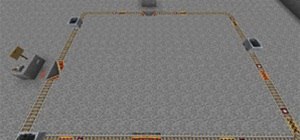
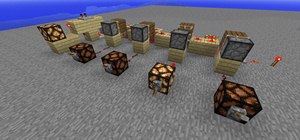
Decide how big you want your build to be, and then lay glowstone out around it. I've used a square shape for simplicity's sake, but you can do whatever you want. Additionally, I've used a lot of glowstone, but you really only need a glowstone block every third block in order to keep the area fully lit.
Note that I've only laid one layer of glowstone, and then filled in the areas that would have been open to the water.
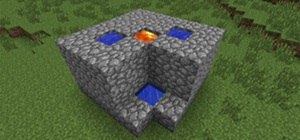
The next step is to fill that whole area up with blocks. Any variety is okay. Some people prefer to use sand because it's harder to accidentally break the wrong block, but I prefer dirt or stone. I just hate having to watch all the sand fall.
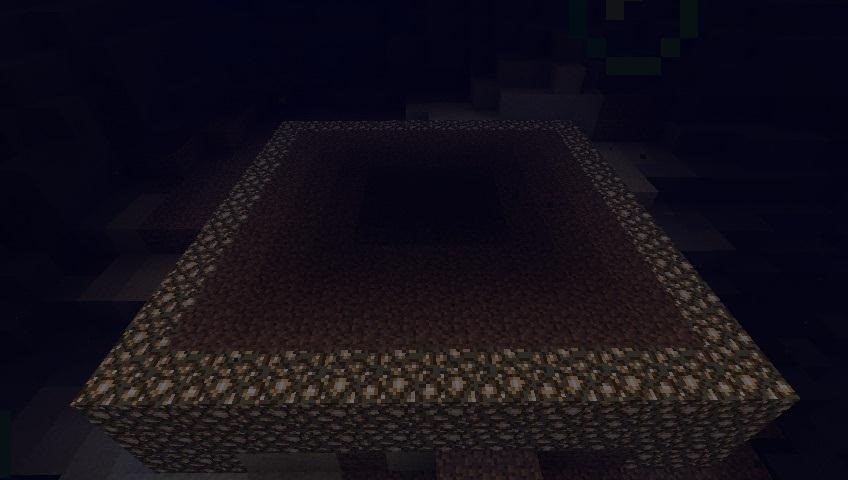
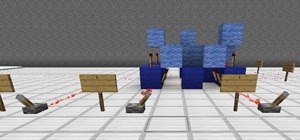
Once your area is filled up, cover it up with another layer of glowstone. Again, you don't have to use all glowstone, but it helps.
Once you have your area covered with glowstone, you get to act like a beaver, and tunnel up from the bottom. You don't need to line your hole with glowstone... I've just done it here so it would be easy to see.
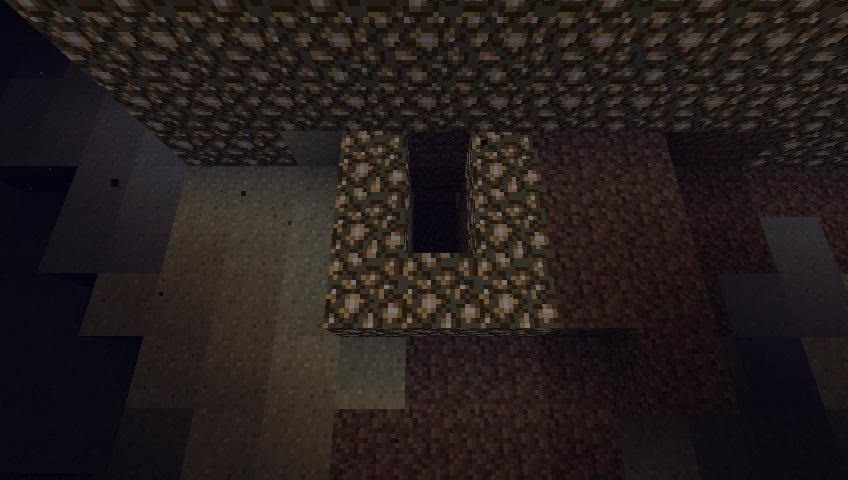
Dig down a few blocks (a minimum of two, but I recommend more like four or five), then dig forward two blocks, and start digging upward until you hit glowstone!
That's why the glowstone is there, to provide the dual purpose of providing illumination, as well as telling you where the boundary between air and water is. You'll notice as you dig upward that the water gets left behind at the bottom of your hole. So when you've hit glowstone and cleared a little area, you can look back down at your hole and see this:
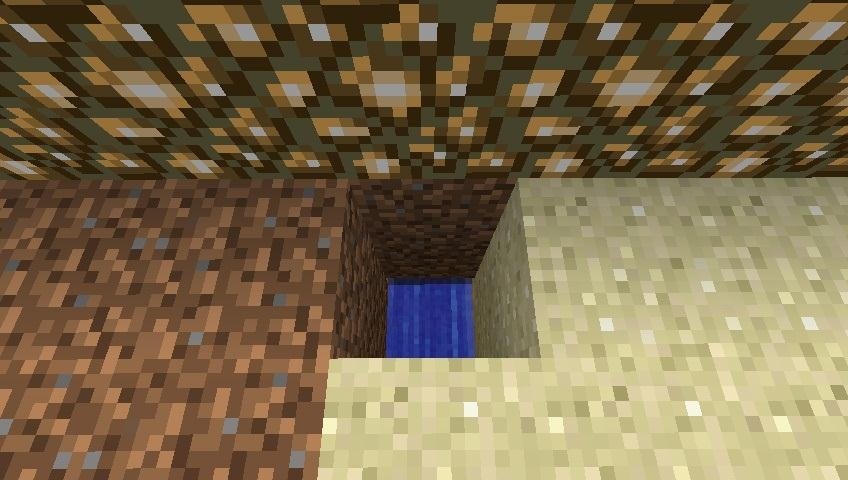
The reason why you add a layer of glowstone beneath the glowstone cap is so that when you're trying to find your boundaries, they'll be hard to miss. Once you've cleared the top few layers out, it'll look like this:

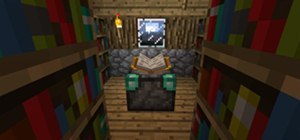
Congratulations! You now have a glowstone scaffold!
Now that you have your scaffolding built, you essentially have a well-lit, water-tight construction area. You can enlarge it downward as much as you'd like, and you're unlikely to run into any more water. Inside your scaffold, you can move freely, and build whatever you'd like. Then, once the building is complete, you can break your scaffold down, and no one will know how you build such an amazing thing underwater!
If you have better ways of building underwater, let us know by making a tutorial of your own!
Just updated your iPhone? You'll find new emoji, enhanced security, podcast transcripts, Apple Cash virtual numbers, and other useful features. There are even new additions hidden within Safari. Find out what's new and changed on your iPhone with the iOS 17.4 update.


Be the First to Comment
Share Your Thoughts