

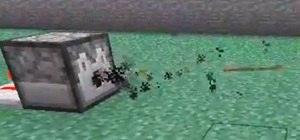
Have you ever felt like you wanted to totally annihilate someone in Minecraft with a machine gun? Yeah, me, too. Thankfully, you can!
The redstone machine gun, which I'll demonstrate, is essentially just a rapid pulsar attached to a dispenser full of arrows. This design has been around for awhile, but it's never been especially practical. After all, it'll eventually run out of arrows.
However, with Minecraft 1.3 coming up, that's about to change! In this tutorial, I'll show you how to use a machine gun as more than just a deadly weapon, but also a method for wireless redstone power!
Check out this video of the machine gun in action:
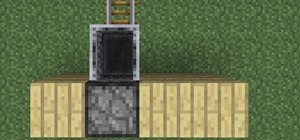
Step 1: Rapid Pulsar
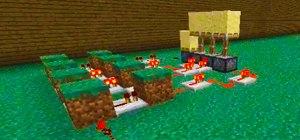
The heart of the machine gun is a simple rapid pulsar, as we discussed in this older article. If you can't figure out how to build one based on this picture, just check out that older post for a detailed tutorial!
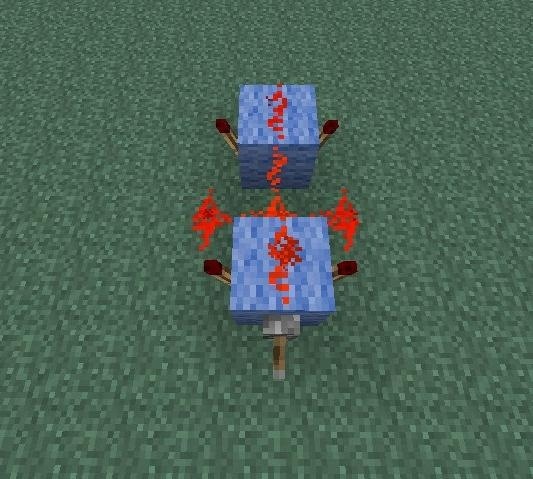
The only difference in this case is that I've added a lever to the side of one of the blocks. This allows us to turn it on and off.
Step 2: Attach a Dispenser
You can attach the dispenser at either end of the pulsar, but make sure it's pointing in the direction of your enemy! Additionally, I recommend adding a repeater, even if you don't need one. It helps stabilize the redstone current, and makes your machine gun fire more reliably. The delay setting you want will depend on how laggy (or not) your particular server is, so experiment with different settings.

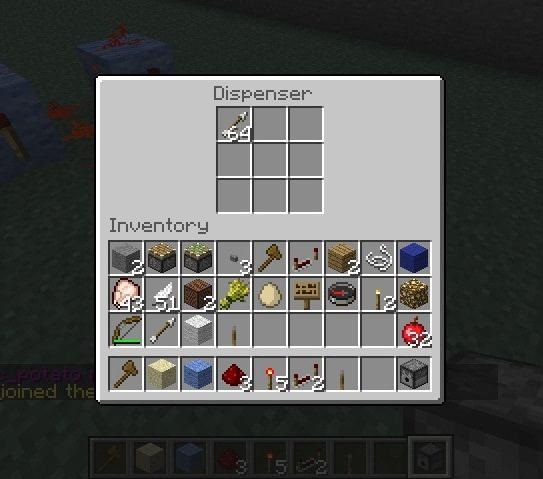
Step 3: Fill Your Dispenser with Arrows
Just stick a whole bunch of arrows in there, like so:
And that's it! You're ready to start unleashing machine gun mayhem!
However, if you want it to be a little more useful, there are some more steps.
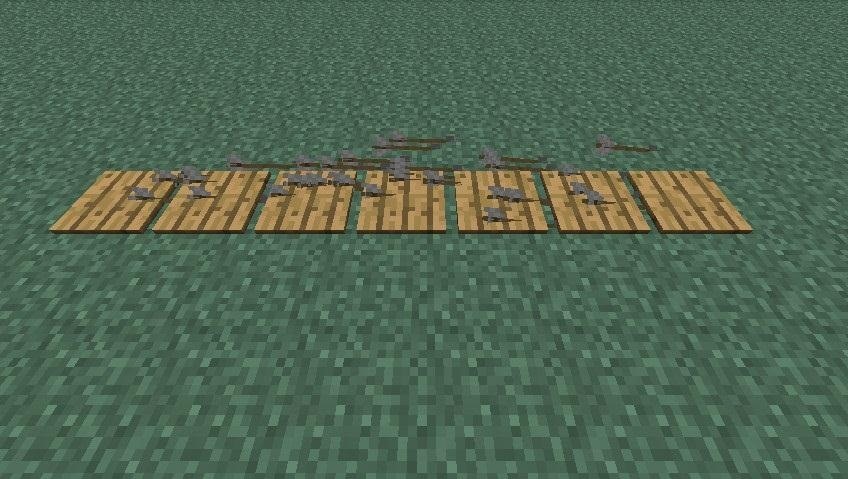
You may notice that when you fire your machine gun that the arrows land in a pretty narrow band. Arrows will fire a minimum of 6 blocks, and a maximum of 12, and are spread across three block widths. However, the majority of the arrows will land in a spread that is 6 blocks long but only one block wide.
In Minecraft version 1.3, arrows will be able to trigger pressure plates, which means...
Step 4: Put Down Pressure Plates
Voila! All of a sudden, you have a way to transmit wireless redstone power!
Since a few stray arrows will land outside of the strip of pressure plates, you will still need the rapid pulsar so that a single button-press will fire a few arrows. The odds of any one arrow in a set of three hitting a wooden pressure plate is, in my experience, 100%.
This means that when Minecraft 1.3 is released, you'll have a reliable way to transmit redstone power wirelessly 6 blocks! While it won't be as fast as plain old wire, it will be useful for those compact builds where you just can't get redstone across a hallway, or divide, or anything else without it being really ugly.
This will also work with redstone tripwires, which will probably be even more reliable than the pressure plates, so give that a try when 1.3 comes out!
If you have other machine gun or wireless redstone designs, create your own tutorials to show them off!
Just updated your iPhone? You'll find new emoji, enhanced security, podcast transcripts, Apple Cash virtual numbers, and other useful features. There are even new additions hidden within Safari. Find out what's new and changed on your iPhone with the iOS 17.4 update.


4 Comments
I LOVE THIS i used it on my own server, and a pelted my friend with all that craaaapppy clay, dirt and sand i don't need by activating it with the lever in his warehouse so when he came in, he got aa full inventory. it was funny watching him though
Haha, glad you enjoyed it! =)
I USED IT ON MY SERVER AND LOADED SPAWN ZOMBIES IN IT. MY FRIEND CAME IN THE ROOM AND GOT BRUTALLY MURDURED BY ZOMBIES
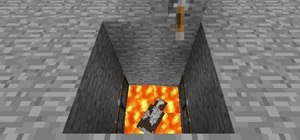
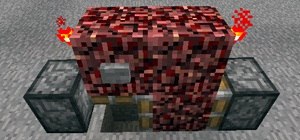
I may be a noob at this stuff and posting on here (first post0 BUT guess what? I made this with an addition I found from the Minecraft Redstone Handbook for a fire arrow turret, while still using the pulsar.
Above is part of the wiring. Ignore the signs, I had to fix something to make the fence gate that blocks the lava open when the lever is flipped up and forgot to change them. But anyways, if the switch is down, the fence gate closes, the pulsar stops and the turret stops firing.
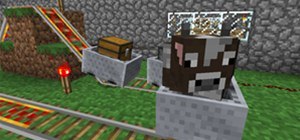
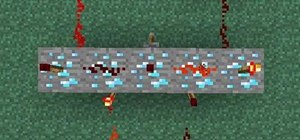
Oops! I forgot to get the dispenser in the middle of the machine into the picture! Oh well. Up here shows the wiring on the housing of the turret. I used coarse dirt because I was going to play a little minigame I thought up of (if you even care about it, but I doubt you would, so I won't add it in). The front of the machine does NOT need the glass, I had tried to get the dispenser in it to show it, but I didn't, so what? It shows the wiring needed to activate the pulsar and open the fence gate. Put lava RIGHT BEHIND the gate, on the inside. Easy way I just found out is to open the gate, sneak to not open the dispenser and place the lava while still sneaking. You can also place the dispenser inside this way. Once everything but the wiring is ready, all that's needed is the redstone. If you have any problems post them, and I will try to help. Also, please please PLEASE post errors you find in the machine or in my comment so I can find a way to fix it if I can find out how to correct the error! Have fun OBLITERATING and burning stuff!
Share Your Thoughts