

Minecraft mods (modifications) are additions to the game that change the way you play. They include texture packs, shaders, changes in gameplay, additions and subtractions and everything in between. Some of this information is very basic, other bits might help you along if you've been stuck. We'll start with the simple stuff.
Creating and Installing Texture Packs
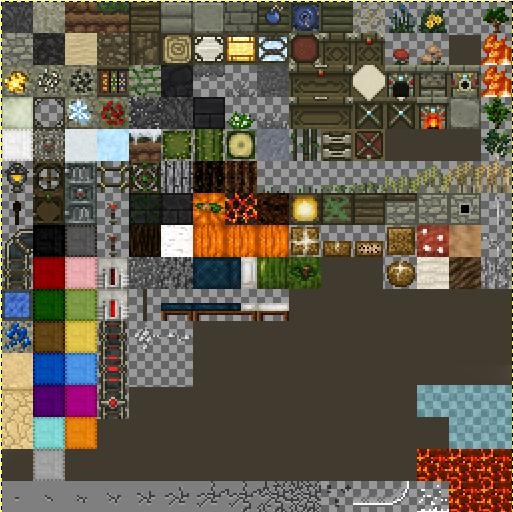
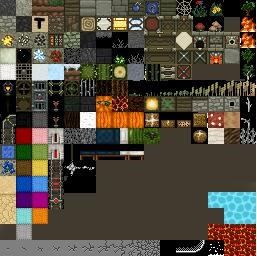
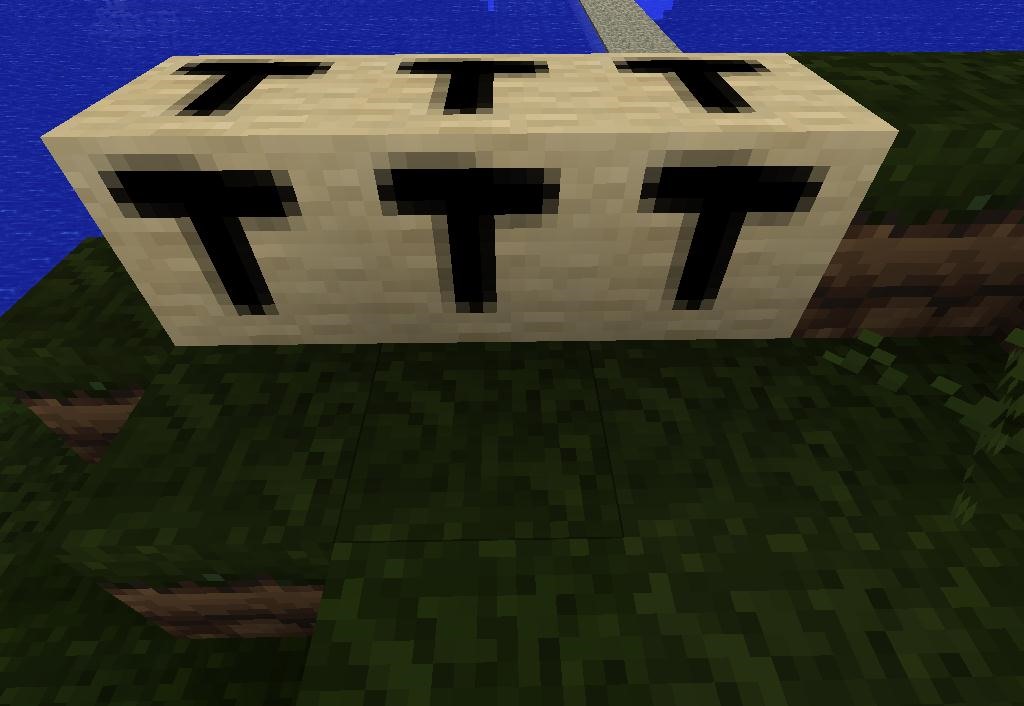
Every block in Minecraft has a different color, texture and design, and each has a file associated with this. They are stored as .png files in your minecraft.jar. You used to have to edit these files directly, but no longer! There is now a texture pack folder in which you can drag and drop your downloaded or personal texture packs.
- To install a texture pack using Windows:Drag and drop your texture pack files in user/appdata/roaming/.minecraft/texturepacks. You can drop zipped files as well.
- To install a texture pack using Mac: Drag and drop your texture pack files into the same folder in which you store Minecraft.
Can't find a texture pack you like? Want to mix and match block textures from pack to pack? Want to make one yourself? The process can be tedious, but rewarding.
For the easiest way to create a personalized texture pack, copy your minecraft.jar by using the extension above. Open it with WinZip or 7zip. There are several files you can edit, but the one most commonly edited is the terrain.png file, which determines the textures of all blocks, chests, fire and water.
To access your terrain.png, open your start menu and type "run" in the search bar. When "run" appears open it and in the Run search tab type %appdata%. You will see your minecraft folder. From there go to minecraft/bin/mincraft.jar.
To edit the texture pack:
- Open the .png file you want to edit using any photo editing software, such as Gimp or Photoshop. Opening with Paint is NOT recommended, as it will not recognize empty space. For example, instead of tall grass you'll end up with ugly gray squares on your lawn.
- To change the textures, simply zoom in on a block, and use whichever brush you choose to change its color and shading.
- Use the brush of your choice to edit each individual block. Keep in mind some blocks occupy more than one cube in the png. Pumpkin, for instance, has four unique sides.
- For utmost detail, zoom in until the image becomes pixelated. Use the smallest brush, which should be the size of a single pixel.
- Save your file and load your game. To keep it in a separate texture pack from the default, save a copy of the default and edit that instead. Be sure to move your finished texture packs into the "texturepack" folder in your .minecraft.
Just as you can personally edit texture packs, you can also choose features from some to add to others. To do this, use any select tool from any photo editing program (not Paint). Cut the new texture you want, and paste it onto the old one.
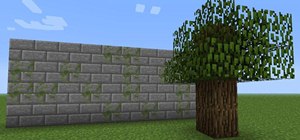
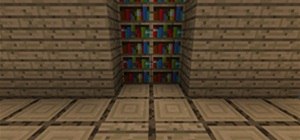
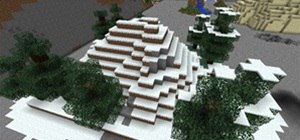
Editing textures can be time consuming and meticulous. If you aren't interested in making the time commitment, there is a stunningly large variety available on the internet. You can download packs in which all blocks are a solid color, packs that are meant to emulate specific maps such as Star Trek or Halo, and those specially edited at a higher resolution (all the way up to 256x256, which is pretty realistic).
Some popular texture packs include: Painterly Pack, LB Photo Realism Pack 256x256, DokuCraft, John Smith Pack, Halo Wars Pack, and The Quandary Pack.
Texture Pack Resources:
Texture Packs for Download: Try Planet Minecraft or this extensive Minecraft Forum Thread. For more information on editing and implementing, try the texture pack section of the Wiki.
Keep in mind, some of the higher resolution texture packs require other mods for them to work.
Gameplay Mods
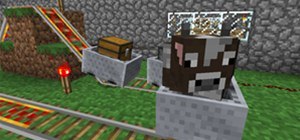
There are a dozen mods that change gameplay, such as additional mobs, in-game realizations of Star Trek, Halo, or Portal, or new crafting recipes.
Some popular gameplay mods include:
- Too Many Items gives you all game items in a convenient menu.
- Mo' Creatures adds more animal and monster mobs to the game.
- Zombe Fly Mod lets you fly—beware, some servers are strict about using these in Multiplayer as they can cause server lag.
- Zan Mini Map is an in-game map that updates as you travel with the ability to set way points.
- PChan3's Mods includes air ships and steam boats.
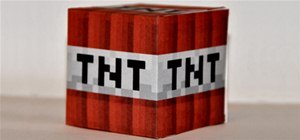
- TnT mod adds new types of TnT.
For more popular mods, try planetminecraft, minecraftforums, Minepedia or moddb.
Adding a gameplay mod to your game typically involves dragging and dropping the content into your .minecraft files, but every mod is different and may require close attention to utilize successfully. Appeal to each mod's troubleshooting and FAQ section for details.
How To Troubleshoot Mods
Even though each mod has its own instructions and troubleshooting methods, I would like to explain the basics of using two or more mods in conjunction, and go over the best approach to take when all else fails.
Mods that work fine together are typically those that change different content. Mods that effect the same content may interfere with each other. For example, if you install two mods that add monster mobs to the game, you may run into trouble. This won't always be the case, but it is a good rule of thumb.
If you are running multiple mods and having a hard time getting them to work, try Modloader 1.8. Modloader is almost like a mod manager, except that it basically takes care of itself. To install Modloader:
- Open up your Minecraft folder/bin/minecraft.jar. You can access this file by typing "run" in the search bar. When "run" appears, open it and in the search tab type "%appdata%". You will see your minecraft folder. Open it up.
- Now open your bin folder and your minecraft.jar. You will need a file compressor to do this, such as Winzip or 7Zip. Right click on your minecraft.jar and select "open with" (your zip program).
- Now open Modloader in the same zip program, and drag and drop it's contents into your .jar.
- For best results, delete the META-INF file in your minecraft.jar, as well.
Now Modloader should remove any interference by loading your mods in the most efficient order possible. Don't worry, it will do this on its own.
When all else fails...
When you have tried everything and don't know what else to do, the best possible approach to troubleshooting your mods is this:
- Re-download the mods you want to use. This can be a pain, but it is sometimes necessary.
- Re-install your minecraft folder. To access your Minecraft folder enter your start menu and typing "run" in the search bar. when run appears open it and in the Run search tab type %appdata%. This will open your appdata folder from which you can access your .minecraft files.
- Once you have accessed your files copy and paste your texture packs, save files and anything else you want to keep into another folder.
- Now, delete your .minecraft. Don't be afraid, you'll get all that stuff back. Just be sure to back up your saves and texture packs!
- Run Minecraft. When Minecraft runs it will re-install your .minecraft files.
- Close Minecraft and open your .minecraft file. Drag and drop or cut and paste your saves and texture packs into the file. If it asked if you want to override existing files select "yes".
- Now carefully re-install your mods one by one.
A few things to take into account when troubleshooting:
- What version of mods are you using? If you have two 1.8 mods and six 1.7 mods, you're probably going to have some trouble running them together.
- Did you update your minecraft.jar since you've used these mods? Your mods may be out of date.
- Do your mods edit the same content? Two mods that effect creeper mobs may interfere with one another. If you arrive at such a conflict it's best to just choose one.
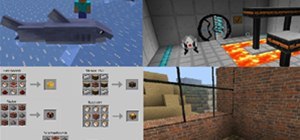
When Mods Get Amazing: An Example
In my opinion, the greatest asset to Minecraft is its community. Luckily, Mojang has been devoted to user generated content from the very beginning and this has spawned some awesome work. I hope you can see that with some time, a texture pack, a map, and a mod the game changes completely. The Portal mod is a great example. Take a look at YouTube user GhostRobo's video walkthrough:
To download and install the Portal mod, you will need the Portal Gun Mod, Portal Craft, and modloader. Follow their instructions carefully!
Some of you may or may not have played with this mod collection, but I highly recommend it if not simply for the sake of demonstrating just how far Minecraft is progressing on behalf of its community.
Notch once said that Minecraft is best described as a sandbox game with monsters. You can add game engine to that list now. Install some mods and you'll see that Minecraft can't be described as anything short of amazing.
Follow us on twitter @MinecraftHowTo
Just updated your iPhone? You'll find new emoji, enhanced security, podcast transcripts, Apple Cash virtual numbers, and other useful features. There are even new additions hidden within Safari. Find out what's new and changed on your iPhone with the iOS 17.4 update.


3 Comments
Wow
Can I turn a block like dirt more transparent with a TP? There is a way to do that?
me----------------likea
Share Your Thoughts