Real time redstone clocks are a marvel of redstone technology. Not only can they keep track of time, they are capable of powering other more complicated redstone machines. Regardless of whether a redstone clock runs a ten second or twenty-four hour time span, they operate on the same principles, which can be easy and straightforward to understand.
How to Create a Redstone Clock
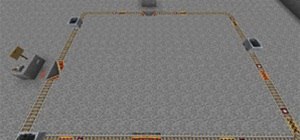
The counter on our redstone clock will be a piston array. We've built similar piston arrays in the past. As you may know, all non-glass blocks on piston arrays translate to a redstone signal. In the case of our redstone clock, each signal will correspond to one second on a ten second timer.
Step 1 Build a 9-Row Piston Memory Array
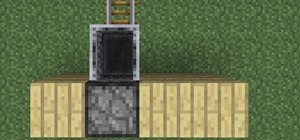
Build a simple piston array containing nine rows of memory, each five blocks long. For a complete walk through of the memory array, see our previous article on the subject.
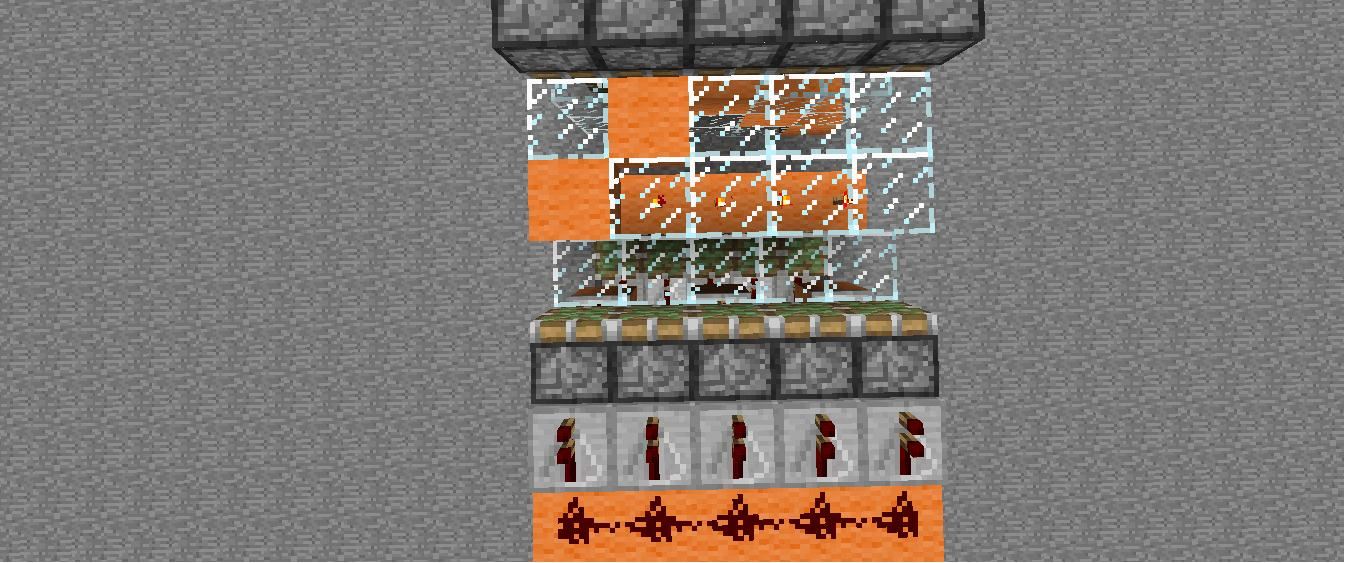
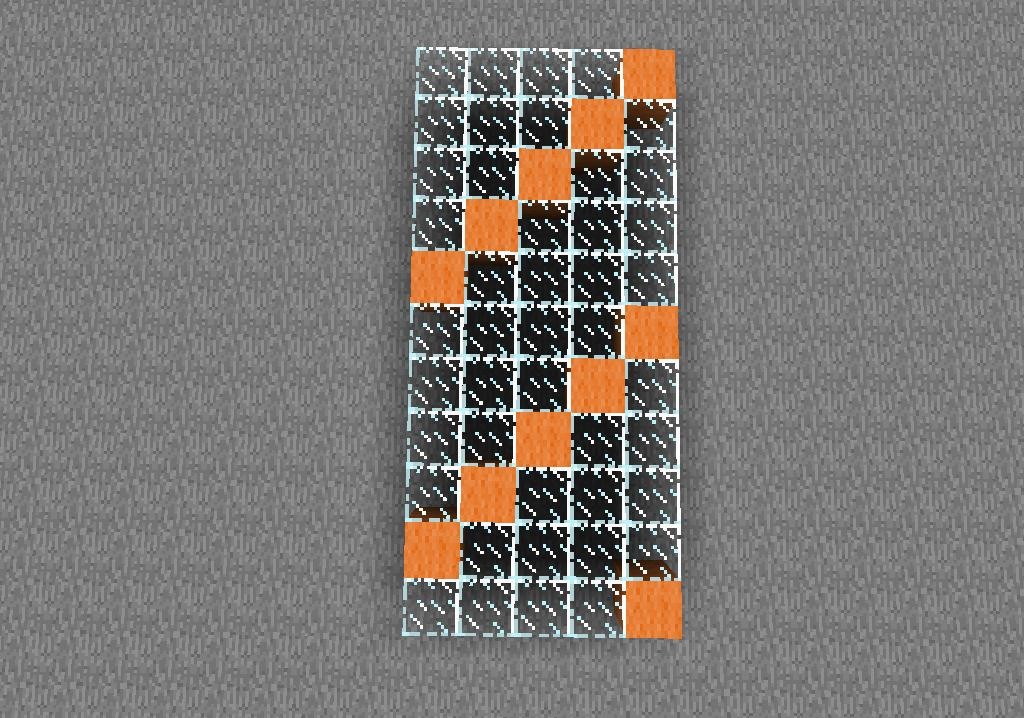
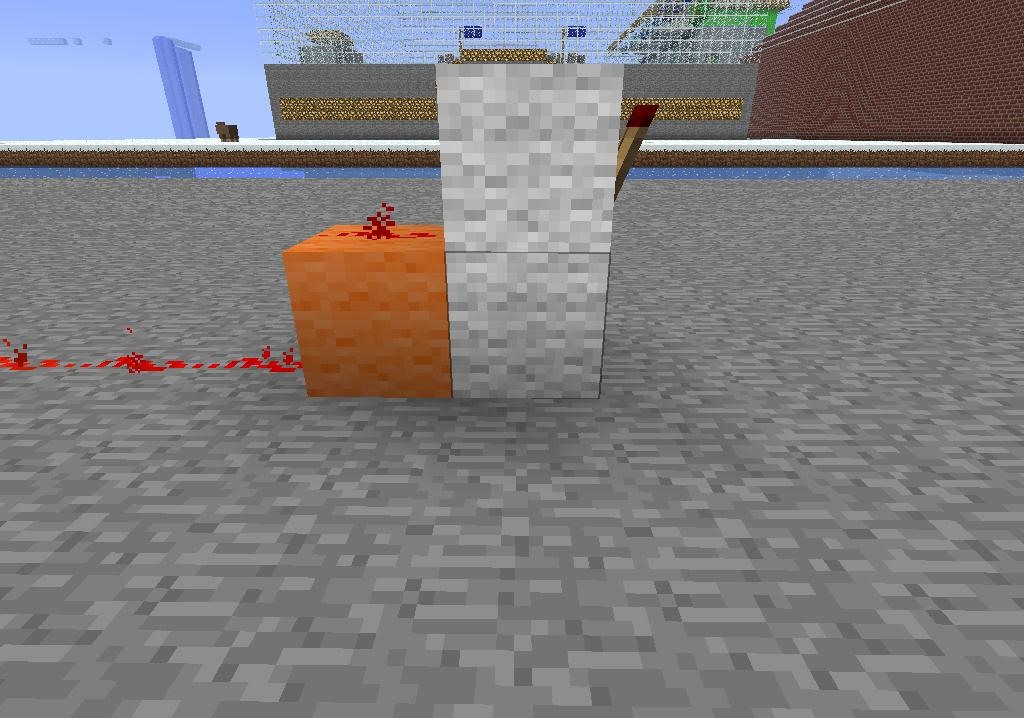
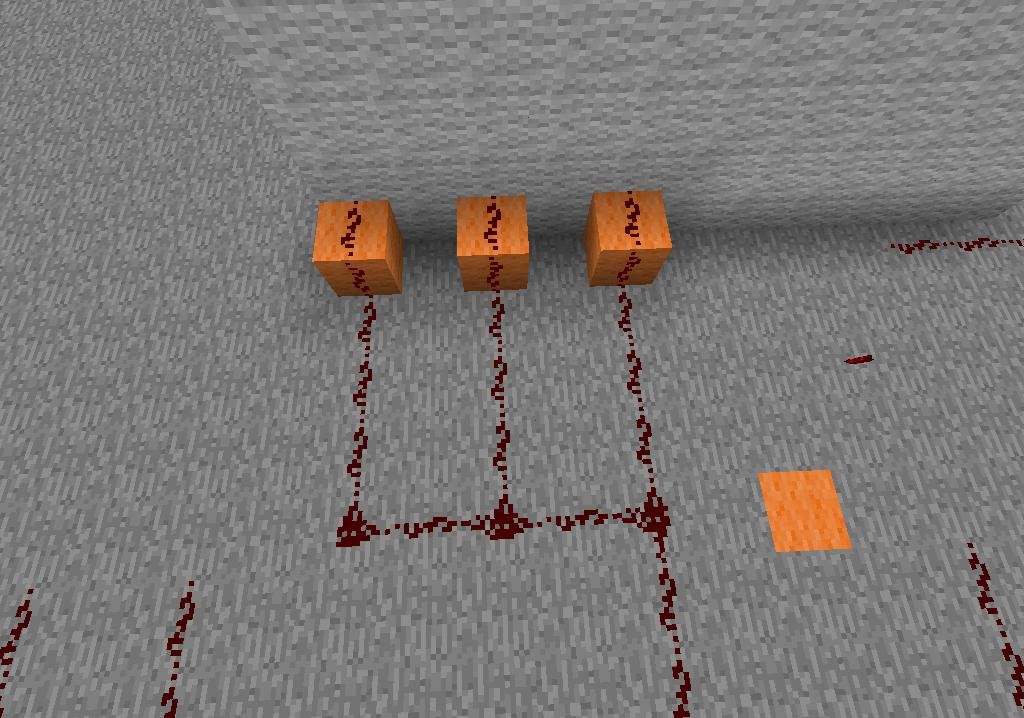
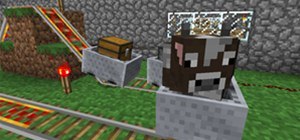
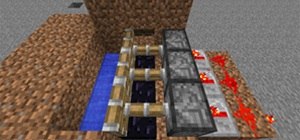
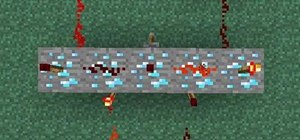
(1) Here I have built a nine row piston array, meaning the memory sheet (of glass and wool) contains nine possible signals in one array rotation. Each of these signals from 1-9 will correspond to a signal on our ten second timer. Fill in each row to the memory array with a non-glass block. Be sure to run them diagonal from each other, one per row. It doesn't matter what order you do this in as long as they are diagonal and one in each row. (2) Here I have laid out the sheet memory to the piston array on its side, so that you may see more closely how the data (the wool) is supposed to run diagonally across it. (3) There is a possible total of five signals that we could take from our memory array, but for our ten second timer clock, we will only require three. Be sure you keep the redstone wires from crossing as you run them from your memory array.
Step 2 Create a Redstone Display
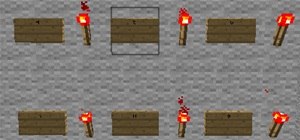
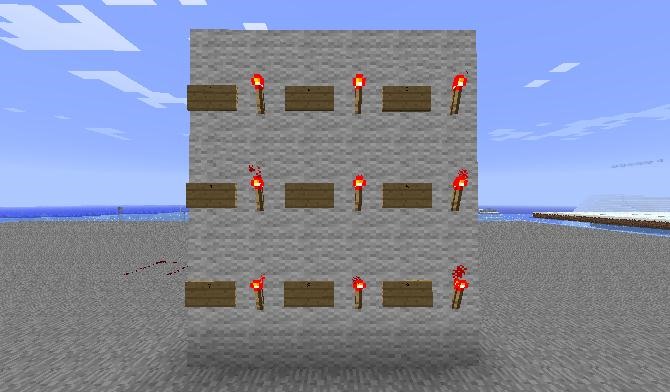
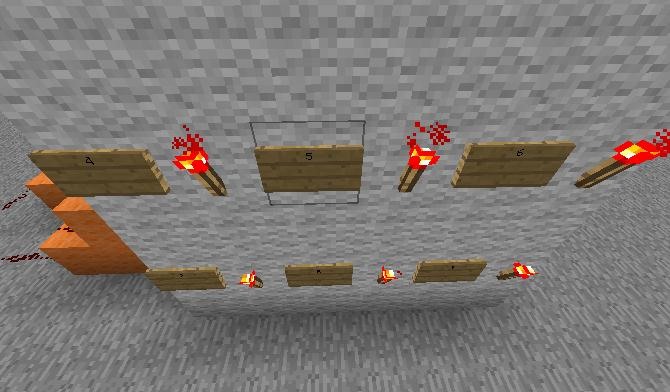
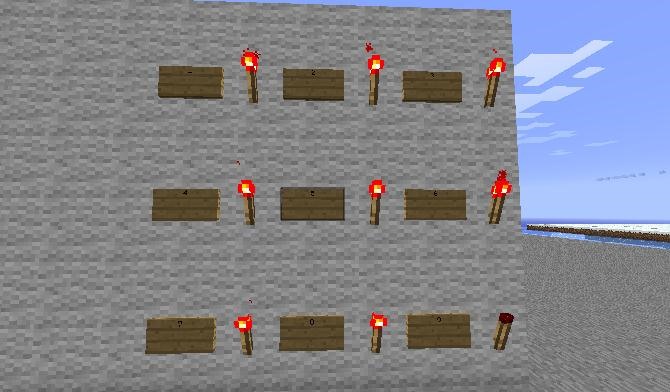
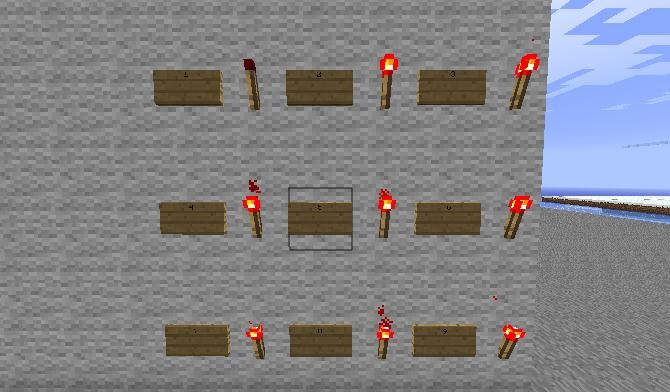
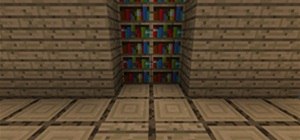
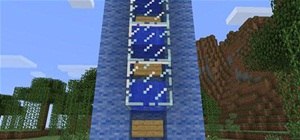
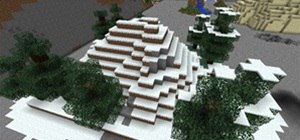
(1) The display for our ten second clock will be a simple display made from 9 redstone torches running three wide and three tall. You can build this with any block material of your choosing, excluding glass. Be sure to place each torch one block apart. The minimal space needed for this display is 25 blocks (5 by 5 blocks). These torches run from the number one, at the top left to nine, at the bottom right. (2) Up close, you can see I've placed signs to keep track of the torch numbers.
Step 3 Connect the Memory Array and Display
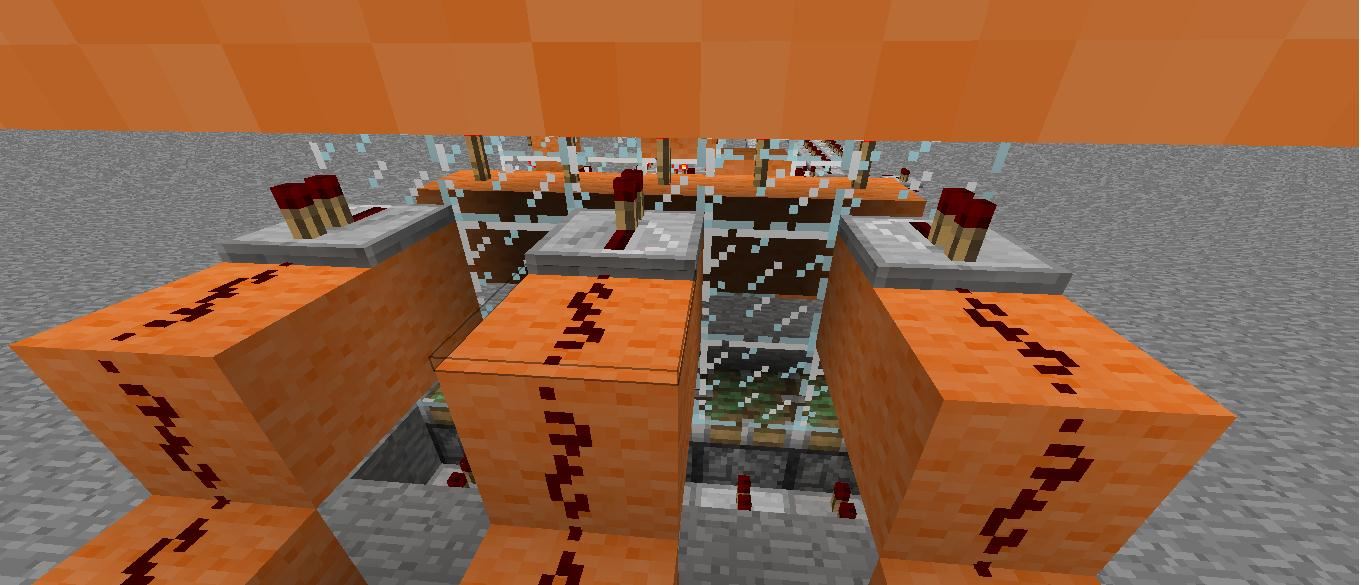
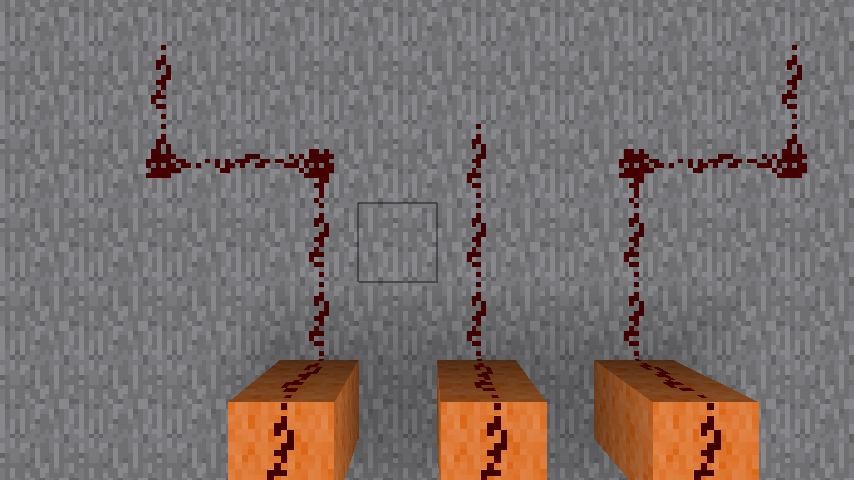
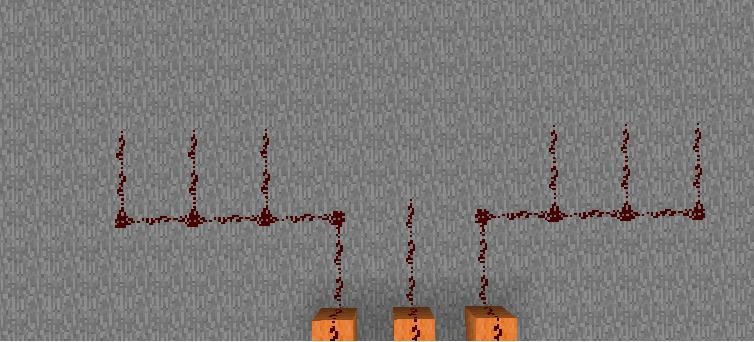
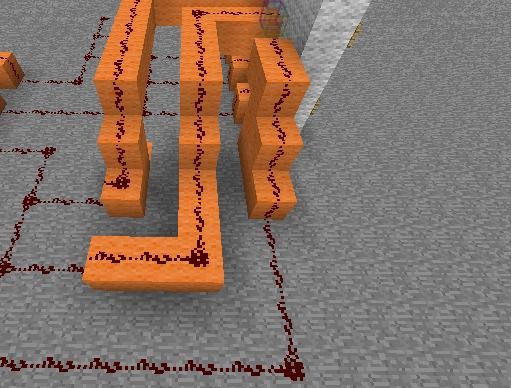
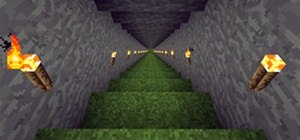
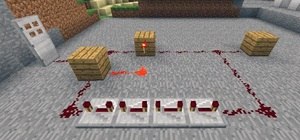
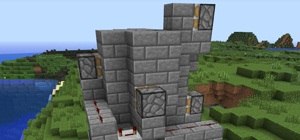
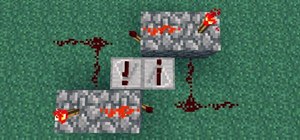
(1) We now need to connect our memory array and redstone display. Pictured above is three pulses that come off of our memory array. Each of these three pulses will need to be split into a further three pulses. , (2) In the image above, I have begun to split the two outer redstone wires that carry a pluse into three wires. , (3) Since our restone display will work by connecting a live redstone pulse to a redstone torch in the display each redstone pulse will need to run to a single redstone torch. I have provided the above image for the sake of showing just how they need to connect. , (4) Here I have the center redstone wire seperated into three wires. They are each connecting to the bottom row of redstone torches. As each of these wires will recieve a pulse and the corresponding redstone torch will lose signal. (5) The brilliant thing about this clock design is that it does not matter what order you attach the redstone wires to the restone torches in the display, as long as each original wire set of three connects to a row of redstone torches. You will need to use stairs to reach each level of the display, but you may connect each as you wish!
Step 4 Fire Up the Clock
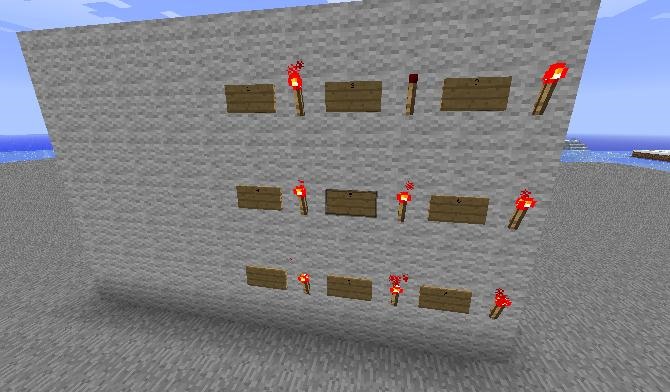
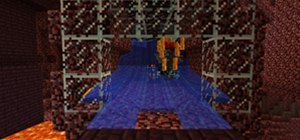
(1) Once you have fired up the clock you should see a pattern of non-lit torches running through the display. Here the "9" marker is set off. (2) In this panel, the "1" marker is set off. (3) Finally in this panel, the "2" marker is set off and so and so on. Once the display makes a complete movement from any one number through the display and back to itself, it has completed a ten second clock. So from torch nine, back to torch nine is ten seconds.
Now you have a simple, compact, and efficient redstone clock and more importantly than this, you've taken a further step towards redstone mastery! Feel free to play with the design and the size of the memory array, and let us know what you create.
A special thanks to everyone who participated in last Saturday's Weekly Workshop.
If you have questions, comments, or a request for a future how-to, please let us know in the comments section below!


1 Comment
someone make a binary clock
Share Your Thoughts