

Part 2
Welcome back! In my last post I talked about the exterior aspects and techniques of building a great looking house, and now we shall focus on the interiors.
Interiors
There are a few important prerequisites to look at before starting the interiors of a house:
- The general structure of your home
- What you want your interior to look like
When you have taken note of both of these aspects, start the steps.
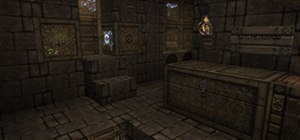
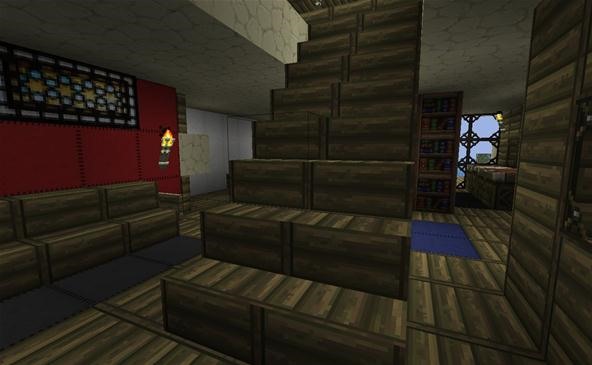
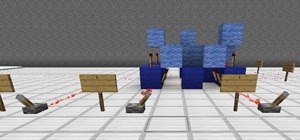
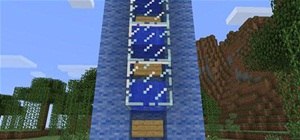
A typical Minecraft interior.
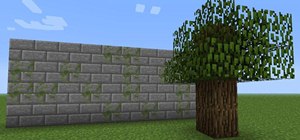
Step 1 A good place to start is the ceiling
As said before, try to stay realistic with the feel and design of this ceiling. Don't make a ceiling that just floats around by itself! That's not realistic! Instead try adding supports, beams and columns to "hold" up the ceiling.
Its all very beautiful, sir, but may I know what's holding up that huge ceiling? The air? I see..
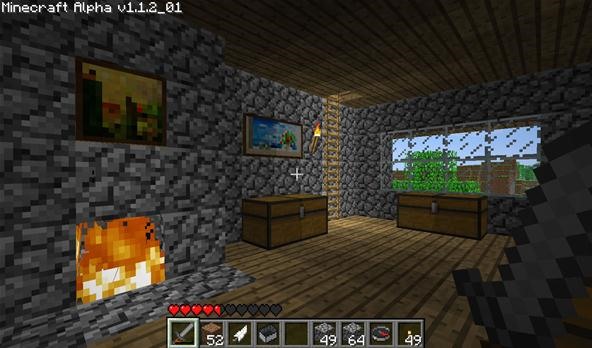
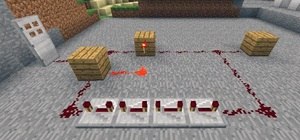
Step 2 Start by adding the major aspects first.
If you brainstormed and did the first to prerequisites , you should already know what you're going to put where. Add these. Make sure to leave space for additional objects and modifications.
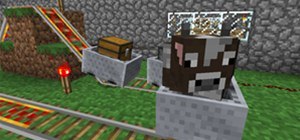
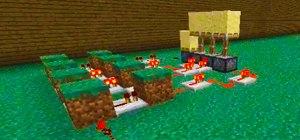
A good example. Here, the major aspects are added: a bed, crafting table, furnace and chests.
You may also have other major aspects like chairs or a fireplace, maybe even a basement. Add those too.
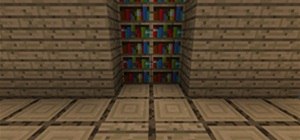
Step 3 Start adding the smaller stuff (aesthetic objects like a jukebox and books)
Place these not only where you want them to be, but also where they will look pleasing. If you have multiple floors, vary the design elements; for example, if the bottom floor has the main lobby, let the top floor have the crafting, smelting and storage rooms, and the topmost your bedroom with all the nifty designs/paintings. Maybe add a pool too!
Add staircases (if you need) at this stage. Why? You can alter it better now and also place it more accurately since you're also adding smaller stuff.
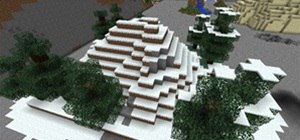
Step 4 Start working on the roof
This may seem an awkward time to start working on the roof of the house. Should'nt this be done earlier? Yes, but now is the time where you customize it to your liking. One major tip is:
DONT CLOSE IT OFF. Roof's that don't allow in any sunlight are (sorry to say) pathetic. They are an abysmal design choice that don't lend to any aesthetic house. Remember this, OK?
Tips
- The strongest parts of a house are doorways and stairs. Make sure they seem strong by, for example, adding raw wood to the perimeter of a door.
- Don't overdo it. Too many aesthetic pieces makes your home look messy.
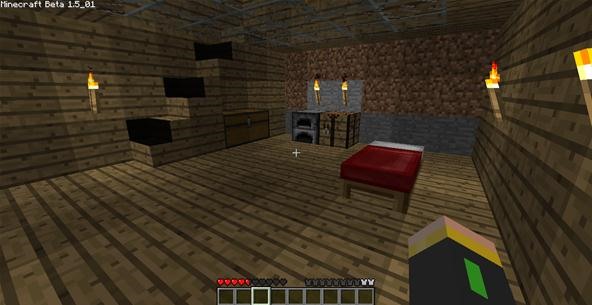
Step 5 Bedroom work
Yes, it's time for your own bedroom. This is, quite possibly the most personal part of the house.
- Start by adding the bed. Its the biggest feature in any bedroom.
- Continue and add other final features
Final touches
Add your final touches now; remove, renew, or modify existing pieces to finalize your design.
And that's it. Make sure to follow these steps and you'll be on your way to a magnificent home!
This is the end of the series. Thanks for reading!
Missed part 1? Click Here!
Just updated your iPhone? You'll find new emoji, enhanced security, podcast transcripts, Apple Cash virtual numbers, and other useful features. There are even new additions hidden within Safari. Find out what's new and changed on your iPhone with the iOS 17.4 update.


10 Comments
Cool!
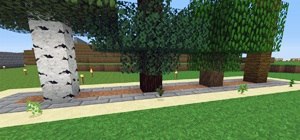
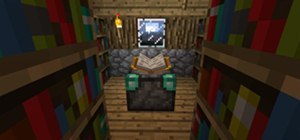
what texture pack are yo using in the last pic?
Modified painterly pack
thanks
Thanks will keep in mind when making spawn points.
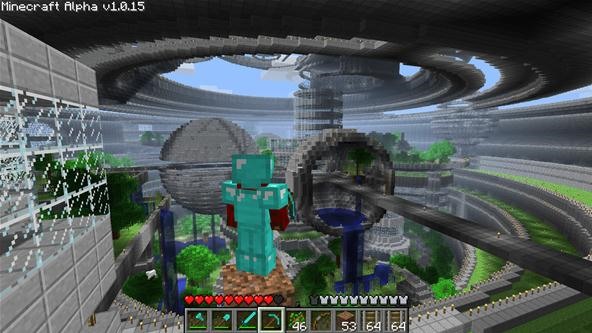
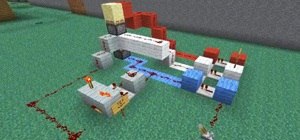
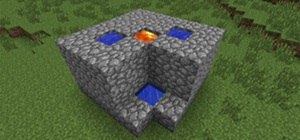
By the way what server is that in the second picture?
No clue, I found that on the internet
Im a girl and I am not the greatest builder! Thanks for the tips ill send a pic of what my house came to look like! :)
If closed off roofs are pathetic,then please tell us how to make a non-pathetic ones.This is not a tease,I'm building my house by your tutorial,so I really wanna know
I actually had pictures for that, I wonder where it went. A lot of pictures are missing in fact. Anyway, this guide is a little old (2 years!) and needs to be updated sometime. Try not to close it off completely. Add some patterns and let some light in. Here are a few examples.
There are also some nice designs here: Wiki Article on Roof Types
Either way, what I meant to say in the article is that it is always (in my opinion) better to have natural light coming into the building rather than seeing a multitude of torches. Of course, if built well enough, closed roofs are also viable.
Share Your Thoughts